Cherry Chocolate Chip Cookies Recipe-Deliciously Sweet Treats
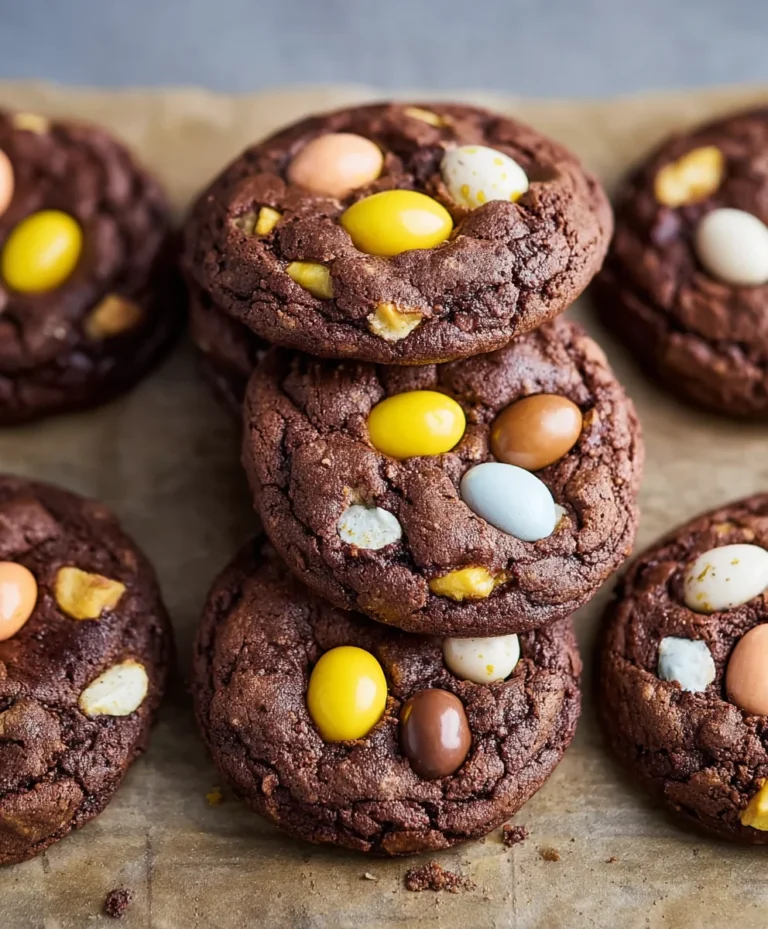
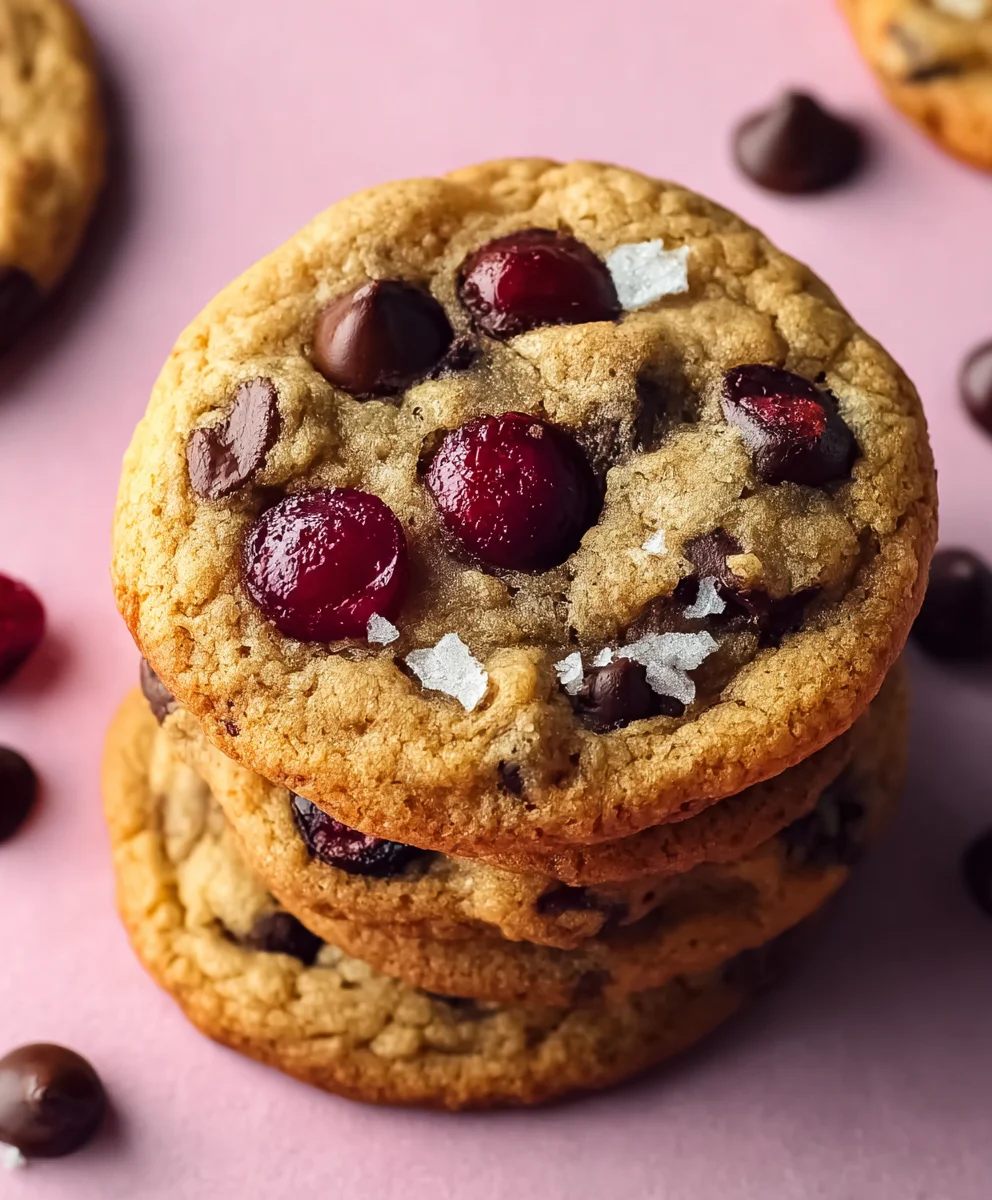
Cherry Chocolate Chip Cookies are more than just a simple sweet treat; they’re a delightful surprise waiting to happen in every bite. Imagin extracte the comforting familiarity of a classic chocolate chip cookie, elevated by the unexpected burst of tart, juicy cherries. This is precisely what makes our Cherry Chocolate Chip Cookies so utterly captivating. People adore them because they offer a fantastic twist on a beloved classic, providing a complex flavor profile that’s both familiar and exciting. The deep, rich notes of chocolate meld beautifully with the bright tang of the cherries, creating a wonderfully balanced sweetness. What truly sets these cookies apart is the unique interplay of textures and tastes – the chewy cookie dough, the gooey melted chocolate, and those little pockets of vibrant cherry goodness. Get ready to discover your new favorite cookie!
Ingredients:
- ½ cup unsalted butter, softened
- ¾ cup brown sugar
- ¼ cup granulated sugar (cane sugar)
- 1 large egg
- 1 teaspoon pure vanilla extract
- 1⅓ cups all-purpose flour, plus 2 tablespoons more
- 1 teaspoon baking soda
- ½ teaspoon baking powder
- ½ teaspoon salt
- ½ cup chocolate chips (semi-sweet or dark work wonderfully)
- ½ cup cherries, pitted and roughly chopped (fresh or frozen and thawed)
Creaming the Butter and Sugars
First, let’s get our base for these delightful Cherry Chocolate Chip Cookies ready. In a large mixing bowl, cream together the softened unsalted butter with the brown sugar and granulated sugar. You want to beat these together until the mixture is light and fluffy, which usually takes about 2 to 3 minutes with an electric mixer (or a bit longer if you’re doing it by hand with a sturdy whisk or wooden spoon). This step is crucial for creating a tender cookie texture. It incorporates air into the dough, which helps the cookies spread and become wonderfully chewy.
Adding Wet Ingredients and Vanilla
Once you have that perfectly creamed mixture, it’s time to add the egg and the vanilla extract. Beat the egg into the sugar and butter mixture until it’s fully incorporated. Don’t worry if the mixture looks a little curdled at this stage; it will come together. Then, stir in the vanilla extract. The vanilla adds a lovely warmth and depth of flavor that complements both the chocolate and the cherries beautifully.
Combining Dry Ingredients
In a separate medium-sized bowl, whisk together the all-purpose flour, baking soda, baking powder, and salt. Whisking these dry ingredients together ensures that the leavening agents (baking soda and baking powder) and the salt are evenly distributed throughout the flour. This prevents pockets of saltiness or uneven rising in your finished cookies. Make sure to measure your flour accurately to avoid dry, tough cookies. Spooning the flour into the measuring cup and leveling it off is generally more accurate than scooping directly from the bag.
Incorporating Dry Ingredients into Wet and Adding Mix-ins
Now, gradually add the dry ingredient mixture to the wet ingredient mixture. Mix on low speed or stir by hand until just combined. Be careful not to overmix the dough at this stage, as overmixing can develop the gluten in the flour, leading to tough cookies. You want to mix until you no longer see streaks of dry flour. Once the dough is mostly combined, it’s time for the stars of the show: the chocolate chips and the chopped cherries! Gently fold in the chocolate chips and the chopped cherries. This is where the magic happens for our Cherry Chocolate Chip Cookies. Ensure the cherries are well-distributed throughout the dough so you get a burst of cherry flavor in every bite.
Chilling and Baking the Cookies
For the best texture and to prevent excessive spreading, I highly recommend chilling the cookie dough. Cover the bowl with plastic wrap and refrigerate for at least 30 minutes, or up to 2 days. Chilling allows the fats in the butter to solidify, which means the cookies will spread less in the oven, resulting in a thicker, chewier cookie. When you’re ready to bake, preheat your oven to 375°F (190°C). Line baking sheets with parchment paper. Drop rounded tablespoons of dough onto the prepared baking sheets, leaving about 2 inches between each cookie to allow for spreading. Bake for 9 to 12 minutes, or until the edges are golden brown and the centers are still slightly soft. The cookies will continue to set as they cool on the baking sheet. Allow them to cool on the baking sheet for a few minutes before transferring them to a wire rack to cool completely. Enjoy these wonderful Cherry Chocolate Chip Cookies!
Conclusion:
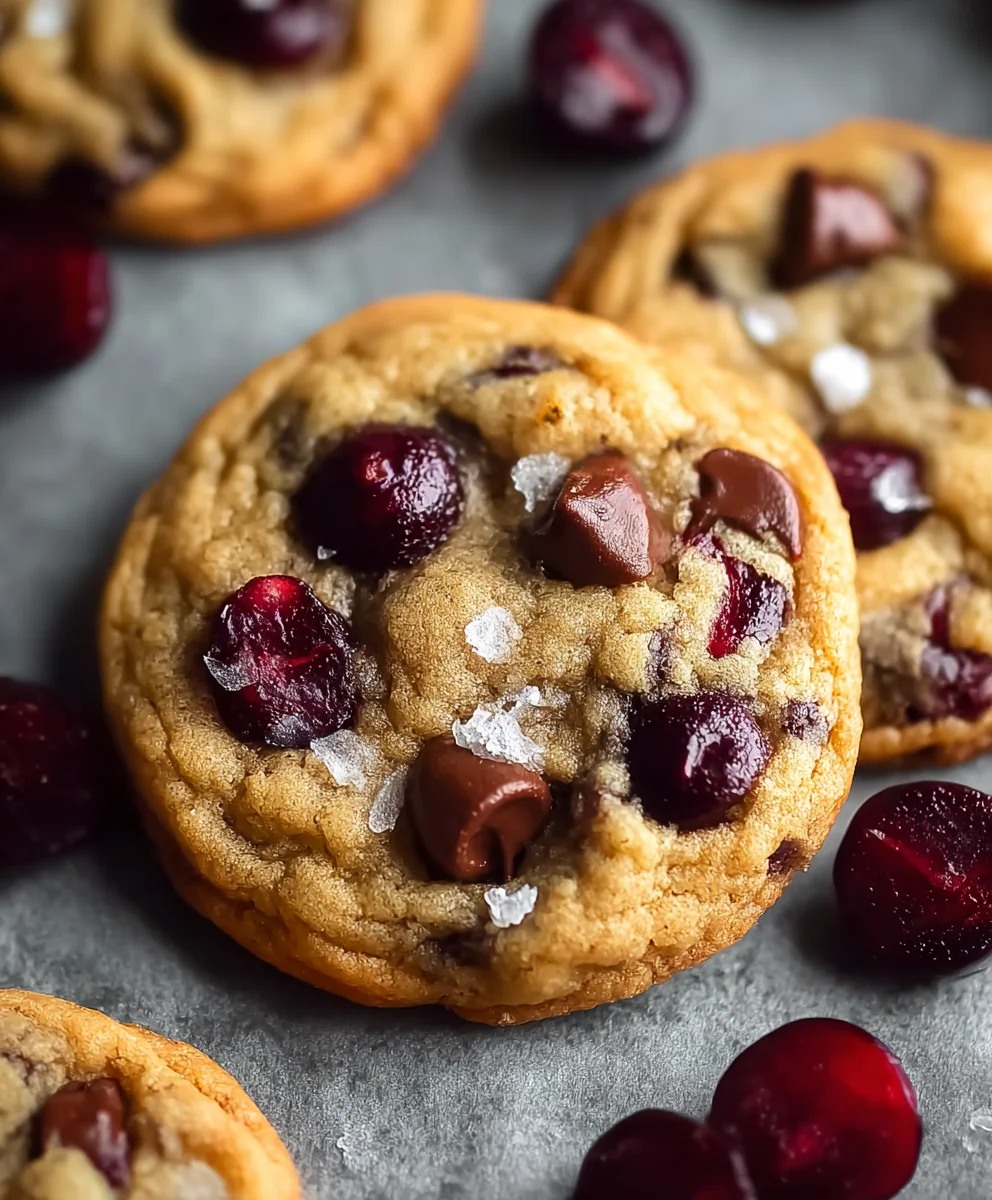
There you have it – the ultimate guide to baking perfect Cherry Chocolate Chip Cookies! We’ve explored the simple steps to create these delightful treats, from creaming your butter and sugar to achieving that irresistible chewy texture with a burst of sweet cherry and rich chocolate. These cookies are more than just a dessert; they’re a little piece of happiness, perfect for sharing or savoring all by yourself. Don’t be afraid to experiment with this base recipe; it’s incredibly forgiving and adaptable. Happy baking!
When it comes to serving, these Cherry Chocolate Chip Cookies are best enjoyed slightly warm, allowing the chocolate chips to be wonderfully gooey. They pair beautifully with a cold glass of milk, a steaming mug of coffee, or even a scoop of vanilla ice cream for an indulgent dessert. For variations, consider adding a pinch of almond extract along with the vanilla for a more complex flavor profile, or try using a mix of dark and milk chocolate chips for an even richer chocolate experience. You could also incorporate a tablespoon of dried cranberry for an extra tart counterpoint to the sweet cherries.
Frequently Asked Questions about Cherry Chocolate Chip Cookies:
Q: Can I use fresh cherries instead of dried?
While dried cherries offer a concentrated sweetness and chegrape juicess that holds up well in baking, fresh cherries can sometimes release too much moisture, potentially making your cookies spread too much and become cakey. If you choose to use fresh cherries, ensure they are pitted and roughly chopped, and consider reducing the butter slightly to compensate for the extra moisture. You might also want to lightly dust them in flour before adding them to the dough.
Q: How should I store Cherry Chocolate Chip Cookies?
To keep your Cherry Chocolate Chip Cookies fresh, store them in an airtight container at room temperature. They should stay delicious for up to 3-4 days. For longer storage, you can freeze the baked cookies in a single layer on a baking sheet until firm, then transfer them to a freezer-safe bag or container for up to 2-3 months. You can also freeze the unbaked cookie dough balls and bake them directly from frozen, adding a few extra minutes to the baking time.
Cherry Chocolate Chip Cookies
Deliciously sweet and chewy cherry chocolate chip cookies, perfect for a delightful treat.
Ingredients
-
½ cup unsalted butter, softened
-
¾ cup brown sugar
-
¼ cup cane sugar
-
1 large egg
-
1 teaspoon pure vanilla extract
-
1⅓ cups all-purpose flour, plus 2 tablespoons more
-
1 teaspoon baking soda
-
½ teaspoon baking powder
-
½ teaspoon salt
-
½ cup chocolate chips
-
½ cup cherries, pitted and chopped
Instructions
-
Step 1
In a large mixing bowl, cream together the softened unsalted butter with the brown sugar and granulated sugar until light and fluffy. -
Step 2
Beat in the egg until fully incorporated, then stir in the vanilla extract. -
Step 3
In a separate bowl, whisk together the all-purpose flour, baking soda, baking powder, and salt. -
Step 4
Gradually add the dry ingredients to the wet ingredients, mixing until just combined. Gently fold in the chocolate chips and chopped cherries. -
Step 5
Chill the cookie dough for at least 30 minutes. Preheat oven to 375°F (190°C) and line baking sheets with parchment paper. -
Step 6
Drop rounded tablespoons of dough onto prepared baking sheets, leaving 2 inches between cookies. Bake for 9-12 minutes until edges are golden brown and centers are slightly soft. -
Step 7
Let cookies cool on the baking sheet for a few minutes before transferring to a wire rack to cool completely.
Important Information
Nutrition Facts (Per Serving)
It is important to consider this information as approximate and not to use it as definitive health advice.
Allergy Information
Please check ingredients for potential allergens and consult a health professional if in doubt.