Brookie Protein Balls-Healthy No-Bake Treat
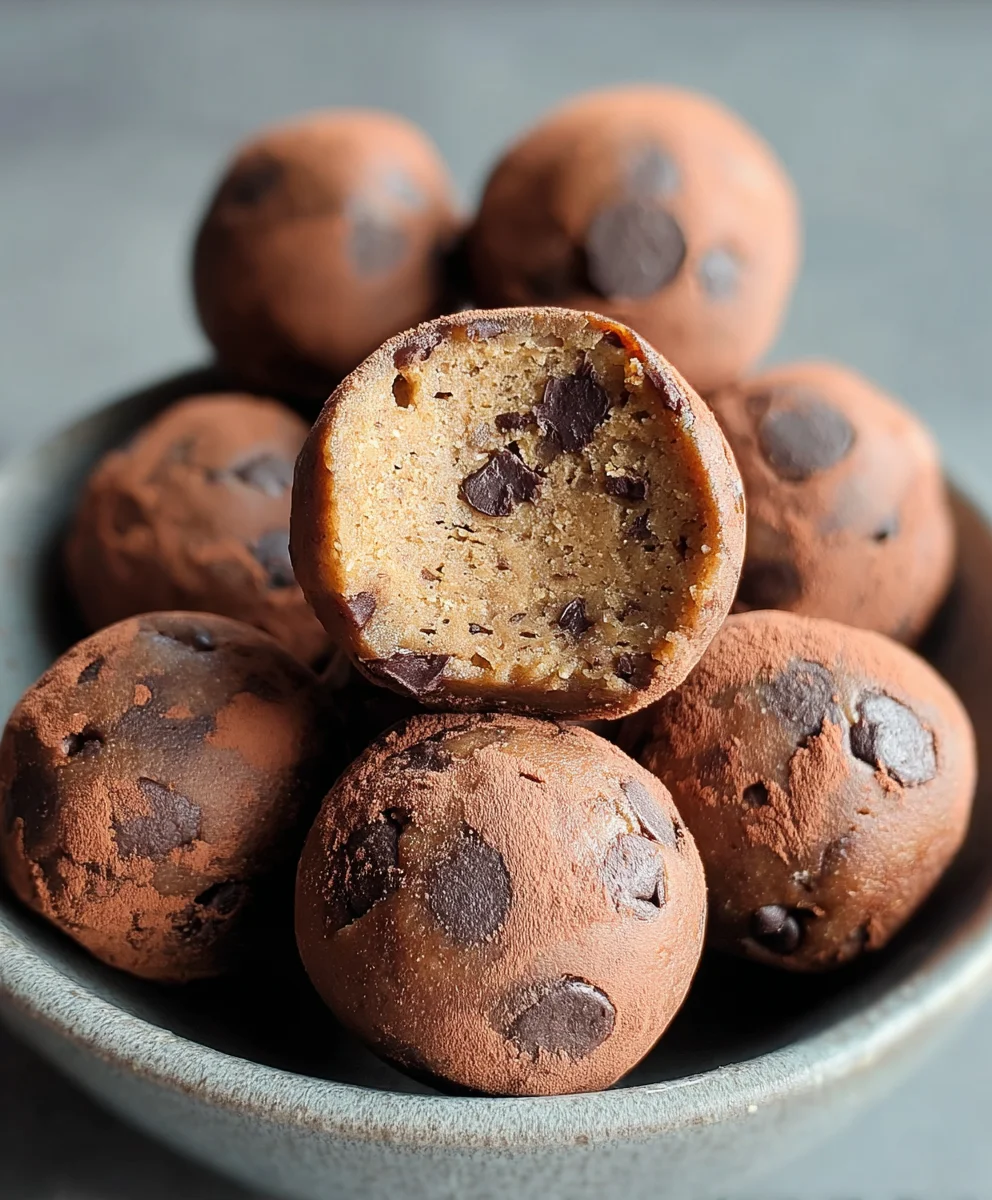
Brookie protein balls are the ultimate guilt-free indulgence for anyone craving that irresistible combination of chewy cookie and rich brownie, packed with a powerful protein punch. We’ve all been there – that afternoon slump hits, and the siren song of sweets calls. But what if you could satisfy that craving with a treat that actually nourishes your body? That’s where these amazing brookie protein balls come in. They’re a game-changer for busy individuals, fitness enthusiasts, or simply anyone who appreciates a delicious, portable snack that fuels your day. What makes them so incredibly special is the masterful fusion of flavors and textures: a hint of cocoa from the brownie component, the comforting sweetness of chocolate chip cookie dough, all bound together into perfectly portioned spheres that are incredibly satisfying. They’re not just a snack; they’re a little bite of happiness, cleverly disguised as a health-conscious choice.
Ingredients:
- 1 cup drippy cashew butter
- 1/2 cup vanilla pea protein powder
- 1/4 cup maple syrup
- 2 tablespoons milk of choice (almond, oat, or dairy work well)
- 1 teaspoon vanilla extract
- 1/4 cup chocolate chips (dairy-free if preferred)
- 3 tablespoons cacao powder
Making Your Brookie Protein Balls
Let’s get started on these delicious and incredibly easy Brookie Protein Balls! They’re perfect for a quick energy boost, a healthy dessert, or a post-workout treat. The beauty of these is their simplicity, requiring no baking whatsoever. We’re essentially creating a no-bake dough that firms up in the fridge.
Phase 1: Combining the Wet Ingredients
First things first, let’s get our base creamy and ready. In a medium-sized mixing bowl, add your 1 cup of drippy cashew butter. The “drippy” consistency is key here, as it ensures everything will mix smoothly without becoming too stiff. If your cashew butter is on the firmer side, you might want to give it a good stir before measuring, or even gently warm it for a few seconds in the microwave (be careful not to overheat it!). Next, pour in your 1/4 cup of maple syrup. This will add a lovely natural sweetness and help bind the ingredients together. Now, add the 2 tablespoons of your milk of choice. I find almond milk or oat milk give a wonderfully neutral flavor, but feel free to use whatever you have on hand. Finally, measure out 1 teaspoon of vanilla extract and add it to the bowl. This little bit of extract really enhances all the other flavors and adds a wonderful aroma.
Using a sturdy spoon or a spatula, begin extract to mix these wet ingredients together. You want to ensure they are thoroughly combined into a smooth, homogenous mixture. Take your time with this step; a well-mixed wet base will make incorporating the dry ingredients much easier and result in a more consistent texture for your protein balls. You should have a lovely, creamy, slightly sweet mixture at this point.
Phase 2: Incorporating the Dry Ingredients
Now it’s time to add the dry ingredients that will give our Brookie Protein Balls their structure and protein punch. Sprinkle in your 1/2 cup of vanilla pea protein powder. Pea protein is a fantastic choice for its smooth texture and mild flavor, which complements the other ingredients beautifully. Follow this with the 3 tablespoons of cacao powder. Cacao powder, rather than cocoa powder, offers a richer, more intense chocolate flavor with a hint of earthiness. It’s also packed with antioxidants, making these treats even more guilt-free.
Gently fold these dry ingredients into the wet mixture. You can start by stirring them in slowly to prevent the powders from flying everywhere. As you mix, you’ll notice the dough starting to thicken and become more cohesive. It will transition from a liquidy state to a thick, pliable dough that you can actually handle. Continue mixing until there are no visible streaks of protein powder or cacao powder left. It’s important to scrape the sides and bottom of the bowl to ensure all the ingredients are fully incorporated. At this stage, the dough should be firm enough to roll into balls, but still soft and slightly sticky.
Phase 3: Adding the “Brookie” Element and Chilling
This is where we add the delightful “brookie” twist! Take your 1/4 cup of chocolate chips and fold them into the dough. You can use regular chocolate chips or opt for dairy-free ones if that’s your preference. These little bursts of chocolate will add texture and a classic cookie-like element to your protein balls. Gently mix them in, distributing them as evenly as possible throughout the dough. You don’t want to overmix at this point, as we want the chips to remain distinct.
Once the chocolate chips are evenly distributed, it’s time to let the magic of chilling happen. Cover the bowl with plastic wrap or a lid and place it in the refrigerator for at least 30 minutes. This chilling period is crucial. It allows the fats from the cashew butter to firm up, making the dough much easier to handle and roll into perfect little balls. It also allows the flavors to meld together beautifully. Don’t skip this step; patience will be rewarded with perfectly formed protein balls!
Phase 4: Rolling the Brookie Protein Balls
After the dough has had its time to chill and firm up, it’s time to get your hands (slightly) messy and roll these beauties. Remove the bowl from the refrigerator. You’ll notice the dough is now much firmer and less sticky, making it ideal for shaping. You can lightly dampen your hands with a bit of water or oil if you find the dough is still a little too sticky for your liking, though the chilling should have made it manageable.
Take about a tablespoon of the dough at a time and roll it between your palms to form a compact ball. Aim for a consistent size for each ball so they bake or chill evenly if you were to ever bake them (though we aren’t today!). Continue this process until all the dough has been rolled into individual balls. You should end up with approximately 15-20 protein balls, depending on the size you make them. Place the rolled balls onto a plate or baking sheet lined with parchment paper. This prevents them from sticking.
Phase 5: Final Setting and Enjoying
Your Brookie Protein Balls are almost ready! Even though they are no-bake, they benefit from a final setting period to ensure they hold their shape perfectly and develop the best texture. Place the plate or baking sheet with the rolled protein balls back into the refrigerator for another 30 minutes to an hour. This final chill will ensure they are firm and easy to grab and enjoy.
Once they have set, your Brookie Protein Balls are ready to be devoured! You can store them in an airtight container in the refrigerator for up to a week. They make an excellent grab-and-go snack for busy days, a pre- or post-workout fuel, or a satisfying sweet treat. Enjoy the delightful combination of chewy, chocolatey goodness with every bite!
Conclusion:
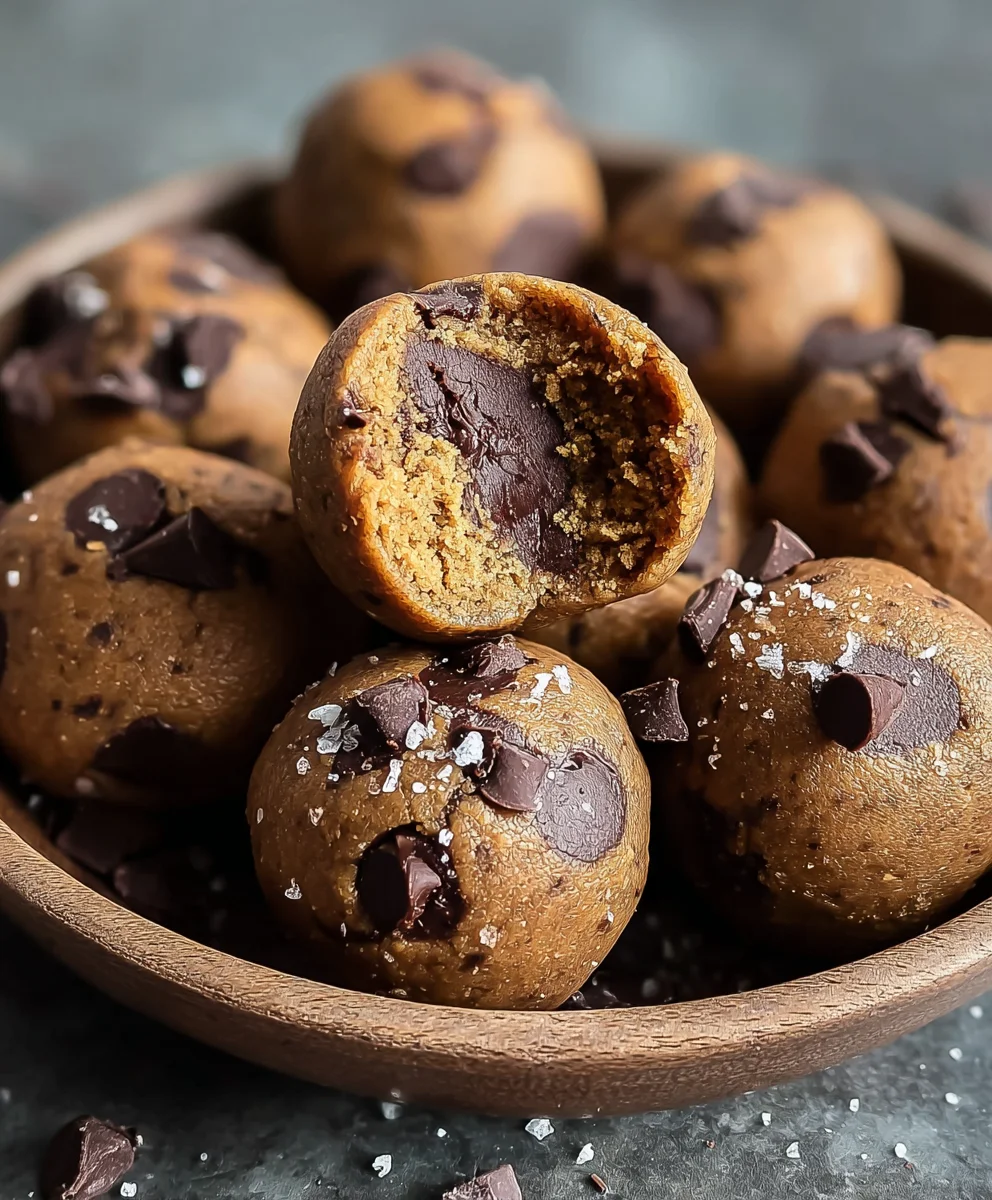
I hope you’ve enjoyed learning how to make these delicious Brookie Protein Balls! We’ve covered how simple it is to whip up this satisfying and healthy snack that combines the best of both worlds: the rich, fudgy texture of brownies with the sweet chegrape juicess of cookies, all packed with protein. These little powerhouses are perfect for a pre- or post-workout boost, a midday energy lift, or even a healthier dessert option. They store wonderfully in the refrigerator, making them an excellent make-ahead snack for busy weeks.
For serving suggestions, try them with a glass of milk, or crum extractbled over yogurt for an extra layer of texture and flavor. Don’t be afraid to get creative with variations! You can add chopped nuts like walnuts or pecans for extra crunch, a sprinkle of flaky sea salt on top for a sweet and salty kick, or even a dash of cinnamon for warmth. The possibilities are truly endless, allowing you to tailor these Brookie Protein Balls to your personal taste preferences. Give them a try and discover your favorite combination! I encourage you to experiment and enjoy the process of creating these fantastic treats.
Frequently Asked Questions:
Q: How long do these Brookie Protein Balls last?
These Brookie Protein Balls can be stored in an airtight container in the refrigerator for up to one week. They also freeze well for longer storage; just place them in a freezer-safe bag or container and they’ll keep for up to two months. Thaw them overnight in the refrigerator before enjoying.
Q: Can I make these Brookie Protein Balls vegan?
Yes, you absolutely can make these Brookie Protein Balls vegan! Simply swap out the honey or maple syrup for a vegan sweetener, use vegan chocolate chips, and ensure your protein powder is plant-based. If you’re using a binder like egg, you’ll want to substitute that with a flax egg (1 tablespoon flaxseed meal mixed with 3 tablespoons water, let sit for 5 minutes) or a commercial egg replacer.
Brookie Protein Balls
Healthy no-bake treat that’s perfect for a quick energy boost, a healthy dessert, or a post-workout snack. These brookies combine the rich flavor of chocolate with the satisfying chewiness of a cookie.
Ingredients
-
1 cup drippy cashew butter
-
1/2 cup vanilla pea protein powder
-
1/4 cup maple syrup
-
2 tablespoons milk of choice (almond, oat, or dairy)
-
1 teaspoon vanilla extract
-
1/4 cup chocolate chips
-
3 tablespoons cacao powder
Instructions
-
Step 1
In a medium bowl, combine the drippy cashew butter, maple syrup, milk of choice, and vanilla extract. Mix thoroughly until smooth and well combined. -
Step 2
Add the vanilla pea protein powder and cacao powder to the wet ingredients. Gently fold them in until a thick, pliable dough forms with no visible streaks of powder. -
Step 3
Fold in the chocolate chips, distributing them evenly throughout the dough. -
Step 4
Cover the bowl and refrigerate for at least 30 minutes to allow the dough to firm up. -
Step 5
Once chilled, roll the dough into bite-sized balls, about 1 tablespoon each. Place the rolled balls onto a plate lined with parchment paper. -
Step 6
Refrigerate the protein balls for another 30 minutes to an hour to set. Store in an airtight container in the refrigerator for up to a week.
Important Information
Nutrition Facts (Per Serving)
It is important to consider this information as approximate and not to use it as definitive health advice.
Allergy Information
Please check ingredients for potential allergens and consult a health professional if in doubt.