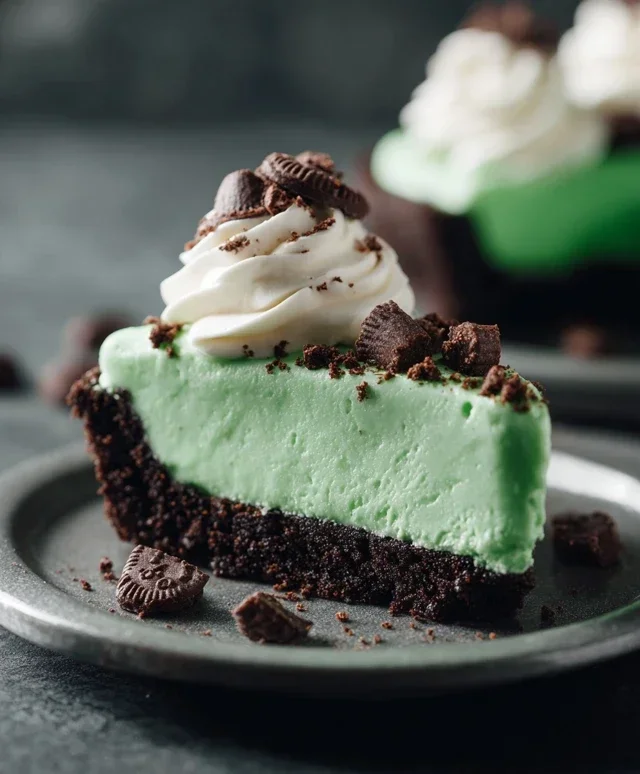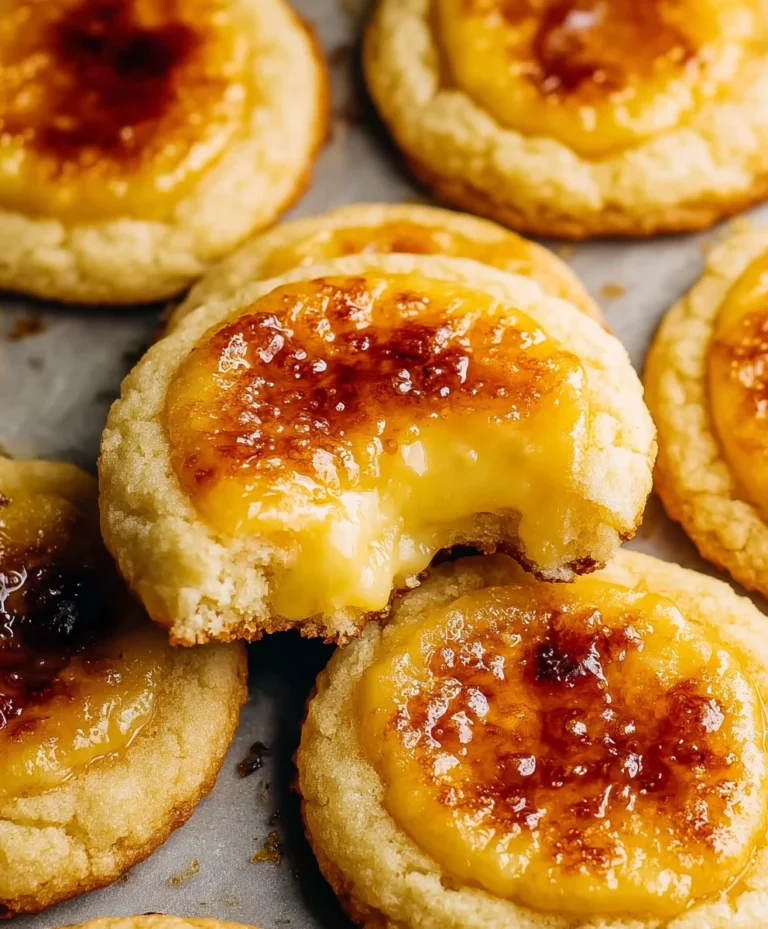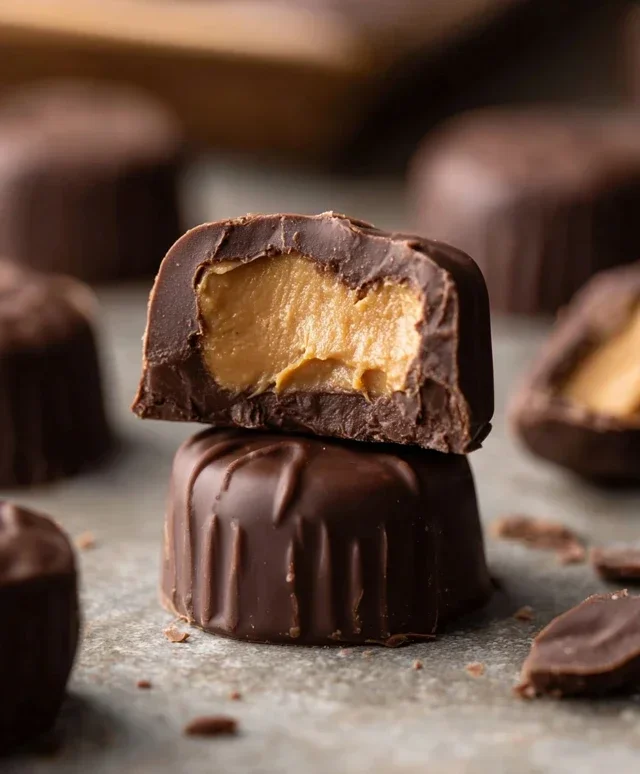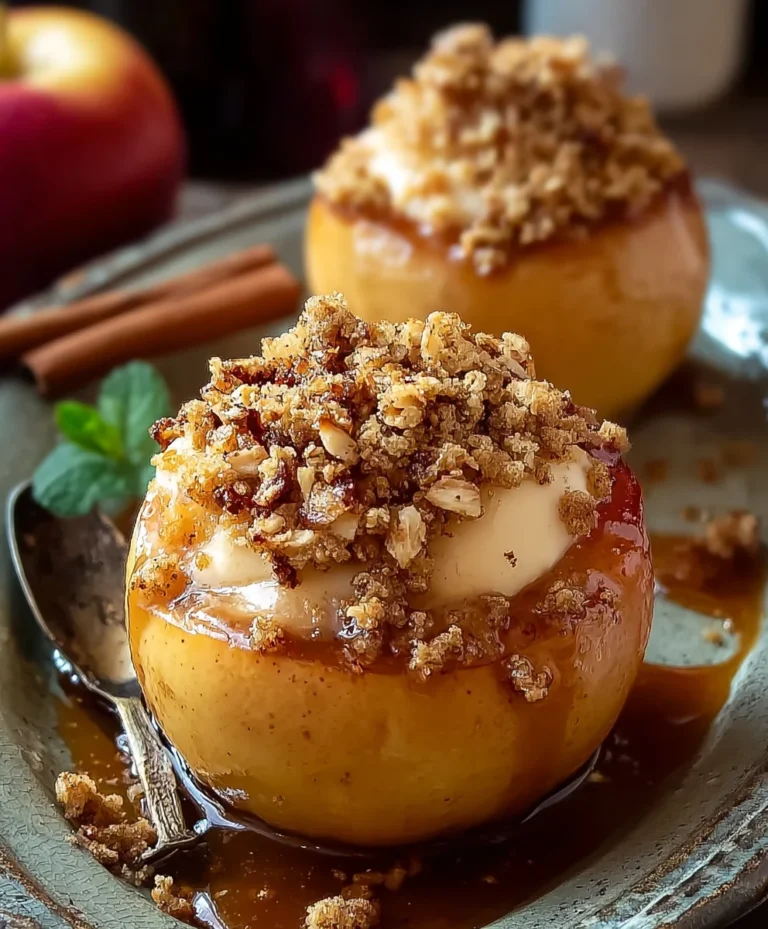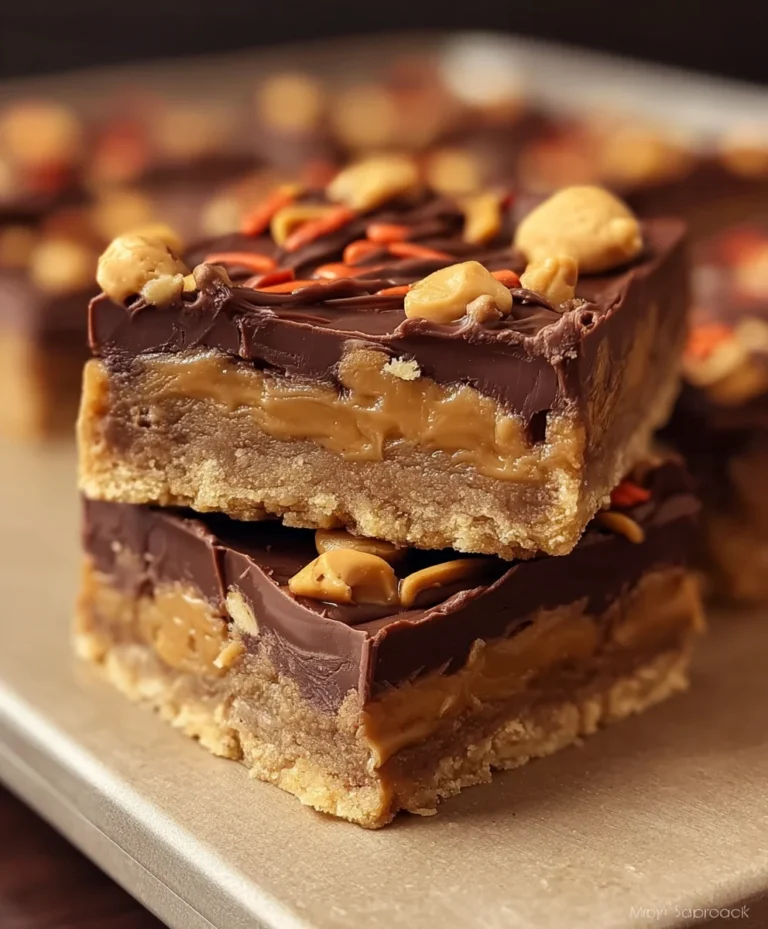
Lucky St-Patricks Day Desserts-Green Treats

St. Patrick’s Day desserts are more than just a sweet treat; they’re a delicious invitation to embrace the spirit of the Emerald Isle! As March 17th approaches, our kitchens begin extract to hum with the anticnon-alcoholic ipation of festive flavors. There’s a certain magic in transforming simple ingredients into vibrant green delights or rich chocolatey creations that evoke the warmth of a cozy Irish pub. People absolutely adore these St. Patrick’s Day desserts because they offer a playful and delicious way to celebrate a holiday steeped in tradition and good cheer. What truly makes them special is the effortless joy they bring, from the first delightful bite to the shared smiles around the table. Whether you’re looking for a show-stopping centerpiece or a simple, satisfying indulgence, these recipes are sure to add a touch of green magic to your celebration.

Get Ready to Bake Some Magic!

Our Top Picks for St. Patrick’s Day Sweetness
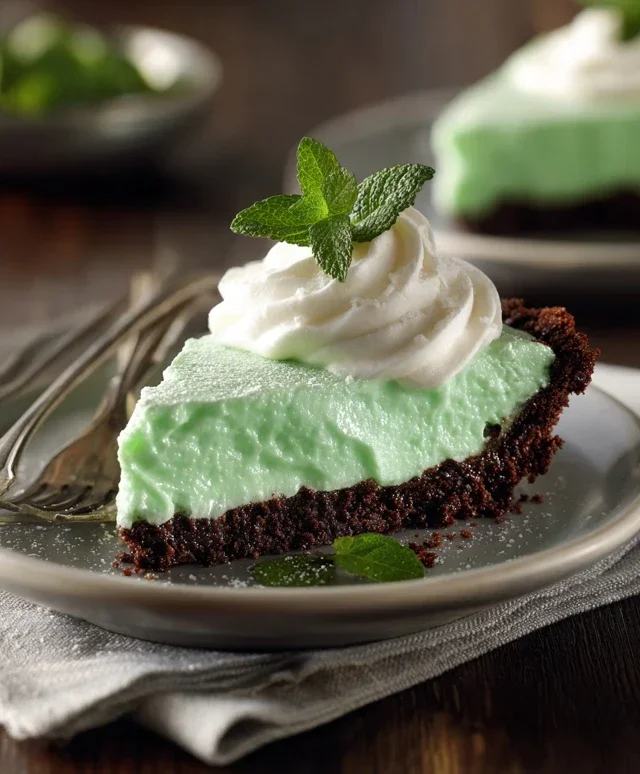
St. Patrick’s Day Desserts

St. Patrick’s Day Desserts: A Sweet Celebration of Green!

St. Patrick’s Day is a time for all things green, lively music, and perhaps a touch of Irish luck! And what better way to round off your festive feast than with some delightful St. Patrick’s Day desserts? This year, I’m bringin extractg you a recipe that’s not only visually stunning but also incredibly delicious, perfect for sharing with friends and family. We’ll be making a vibrant Emerald Isle Chocolate Mousse Cake. This cake features layers of rich chocolate cake, a creamy mint-infused chocolate mousse, and a drizzle of decadent chocolate ganache. It’s a showstopper that captures the spirit of the holiday in every bite.

Ingredients:

  • For the Chocolate Cake:
  • 2 cups all-purpose flour
  • 1 ¾ cups granulated sugar
  • ¾ cup unsweetened cocoa powder
  • 1 ½ teaspoons baking soda
  • 1 teaspoon baking powder
  • ½ teaspoon salt
  • 2 large eggs
  • 1 cup milk
  • ½ cup vegetable oil
  • 2 teaspoons vanilla extract
  • 1 cup boiling water
  • For the Mint Chocolate Mousse:
  • 12 ounces semi-sweet chocolate, finely chopped
  • 2 cups heavy cream, divided
  • ¼ cup powdered sugar
  • 1 teaspoon peppermint extract
  • Green food coloring (optional, for a vibrant green hue)
  • For the Chocolate Ganache:
  • 1 cup semi-sweet chocolate chips
  • ½ cup heavy cream
  • Cooking Instructions:

  • Prepare the Chocolate Cake Layers: Preheat your oven to 350°F (175°C). Grease and flour two 8-inch round cake pans. In a large mixing bowl, whisk together the all-purpose flour, granulated sugar, unsweetened cocoa powder, baking soda, baking powder, and salt. This dry ingredient mixture is the foundation of our rich chocolate cake. In a separate medium bowl, whisk together the eggs, milk, vegetable oil, and vanilla extract until well combined. Add the wet ingredients to the dry ingredients and mix on low speed until just combined. Be careful not to overmix, as this can lead to a tough cake. Finally, carefully pour in the boiling water and whisk until the batter is smooth and thin. This hot water helps to bloom the cocoa powder, intensifying its flavor and creating a wonderfully moist cake. Divide the batter evenly between the prepared cake pans and bake for 30-35 minutes, or until a wooden skewer inserted into the center comes out clean. Let the cakes cool in the pans for 10 minutes before inverting them onto a wire rack to cool completely. Ensuring the cakes are fully cooled is crucial before proceeding to the next steps, otherwise, the mousse might melt.
  • Craft the Mint Chocolate Mousse: While the cakes are cooling, let’s get started on our luscious mint chocolate mousse. Place the finely chopped semi-sweet chocolate in a heatproof bowl. In a small saucepan, heat 1 cup of the heavy cream over medium heat until it just begin extracts to simmer around the edges. Do not let it boil. Pour the hot cream over the chopped chocolate and let it sit for about 5 minutes to allow the chocolate to melt. Gently whisk the mixture until it is smooth and glossy. This is your chocolate base for the mousse. In a separate, chilled bowl, whip the remaining 1 cup of heavy cream with the powdered sugar until stiff peaks form. This usually takes about 3-5 minutes with an electric mixer. If you desire a vibrant green hue for your St. Patrick’s Day dessert, now is the time to add a few drops of green food coloring to the whipped cream, mixing until the color is uniform. Next, gently fold the melted chocolate mixture into the whipped cream until no streaks remain. Add the peppermint extract and fold it in gently. Be careful not to deflate the whipped cream too much; we want a light and airy mousse.
  • Assemble the Emerald Isle Cake: Once your chocolate cake layers are completely cool, it’s time to bring it all together. Place one cake layer on your serving plate or cake stand. Spread half of the mint chocolate mousse evenly over the first cake layer. This creates a decadent layer of creamy goodness. Carefully place the second cake layer on top of the mousse. Then, spread the remaining mint chocolate mousse over the top of the second cake layer, smoothing it out to create a beautiful, even surface. You can also spread some mousse down the sides of the cake if you like a more rustic look, or use an offset spatula to create decorative swirls. For a cleaner finish, you might want to chill the cake for about 30 minutes before adding the ganache, which helps the mousse firm up.
  • Create the Decadent Chocolate Ganache: For the final flourish, we’ll make a simple yet stunning chocolate ganache. In a heatproof bowl, combine the semi-sweet chocolate chips and the ½ cup of heavy cream. Microwave in 30-second intervals, stirring after each interval, until the chocolate is melted and the mixture is smooth and glossy. Alternatively, you can heat the cream in a saucepan until it’s simmering, then pour it over the chocolate chips and let it sit for a few minutes before stirring. Once smooth, let the ganache cool slightly for about 5-10 minutes. It should be pourable but not too hot, as it could melt the mousse.
  • Garnish and Serve: Once the ganache has cooled to a suitable consistency, drizzle it over the top of the cake, allowing it to cascade down the sides. You can use a spoon or a piping bag to create more intricate designs if you wish. For an extra festive touch, consider decorating your Emerald Isle Chocolate Mousse Cake with green sprinkles, edible gold glitter, or even some chocolate shavings shaped like sbeef hamrocks. Let the ganache set for at least another 30 minutes in the refrigerator before slicing and serving. This allows the flavors to meld and the cake to firm up perfectly. Enjoy this delightful St. Patrick’s Day treat – it’s sure to bring a smile and a taste of the Emerald Isle to your celebration!
  • St. Patrick’s Day Desserts

    Conclusion:

    And there you have it! These delightful St. Patrick’s Day desserts are more than just a festive treat; they’re a celebration of flavor and fun. Their vibrant green hues and delicious combinations are sure to impress your guests and add a special touch to your holiday gathering. Whether you choose the classic creamy cheesecake or the decadent chocolate non-alcoholic stout cake, these recipes are designed to be approachable and rewarding, even for begin extractner bakers. We’ve explored a variety of ways to bring a little luck of the Irish to your dessert table, from simple garnishes to intricate layers. So go ahead, don your greenest apron, and give these St. Patrick’s Day desserts a try. They’re perfect for sharing with family and friends, or for indulgin extractg in a sweet moment of personal celebration. Don’t be afraid to experiment with the variations – that’s where the true magic of baking happens!

    Frequently Asked Questions:

    Can I make these desserts ahead of time?

    Absolutely! Many of these St. Patrick’s Day desserts, like cheesecakes and cakes, actually benefit from being made a day in advance. This allows the flavors to meld beautifully and ensures they have adequate time to chill or set. Cupcakes or cookies can also be baked a day or two prior and frosted closer to serving to maintain freshness.

    What are some non-non-non-alcoholic alternativeic variations for these recipes?

    For the chocolate non-alcoholic stout cake, you can easily substitute a non-non-non-alcoholic alternativeic non-alcoholic stout or even a strong brewed coffee for a similar depth of flavor. For any recipes calling for liqueur extracts, simply omit them or replace them with a splash of milk or cream, and perhaps an extra drop of vanilla extract to maintain moisture and flavor.

    Are these recipes suitable for a potluck?

    Yes, indeed! Most of these desserts travel exceptionally well. Individual servings like cupcakes or trifles are particularly convenient for potlucks. For larger cakes or cheesecakes, ensuring they are well-chilled and transported in a sturdy container will keep them looking their best when it’s time to serve.


    St. Patrick's Day Green Swirl Cupcakes

    St. Patrick’s Day Green Swirl Cupcakes

    Festive green swirled cupcakes perfect for St. Patrick’s Day celebrations.

    Prep Time
    30 Minutes

    Cook Time
    20 Minutes

    Total Time
    50 Minutes

    Servings
    12 cupcakes

    Ingredients

    • 1 ½ cups all-purpose flour
    • 1 cup granulated sugar
    • 1 ½ teaspoons baking powder
    • ½ teaspoon salt
    • ½ cup unsalted butter, softened
    • 2 large eggs
    • ½ cup milk
    • 1 teaspoon vanilla extract
    • Green food coloring

    Instructions

    1. Step 1
      Preheat oven to 350°F (175°C). Line a 12-cup muffin tin with paper liners.
    2. Step 2
      In a large bowl, whisk together flour, sugar, baking powder, and salt.
    3. Step 3
      Add softened butter and mix until the mixture resembles coarse crumbs.
    4. Step 4
      In a separate bowl, whisk together eggs, milk, and vanilla extract.
    5. Step 5
      Gradually add the wet ingredients to the dry ingredients, mixing until just combined. Do not overmix.
    6. Step 6
      Divide the batter into two bowls. Add green food coloring to one bowl and mix until desired shade of green is achieved. Leave the other bowl plain.
    7. Step 7
      Spoon alternating dollops of green and plain batter into the prepared muffin cups. Swirl gently with a toothpick.
    8. Step 8
      Bake for 18-20 minutes, or until a toothpick inserted into the center comes out clean.
    9. Step 9
      Let cool in the muffin tin for a few minutes before transferring to a wire rack to cool completely.

    Important Information

    Nutrition Facts (Per Serving)

    It is important to consider this information as approximate and not to use it as definitive health advice.

    Allergy Information

    Please check ingredients for potential allergens and consult a health professional if in doubt.

    Similar Posts

    Leave a Reply

    Your email address will not be published. Required fields are marked *