Easy Chocolate Chip Cookie Bars-Best Homemade Recipe
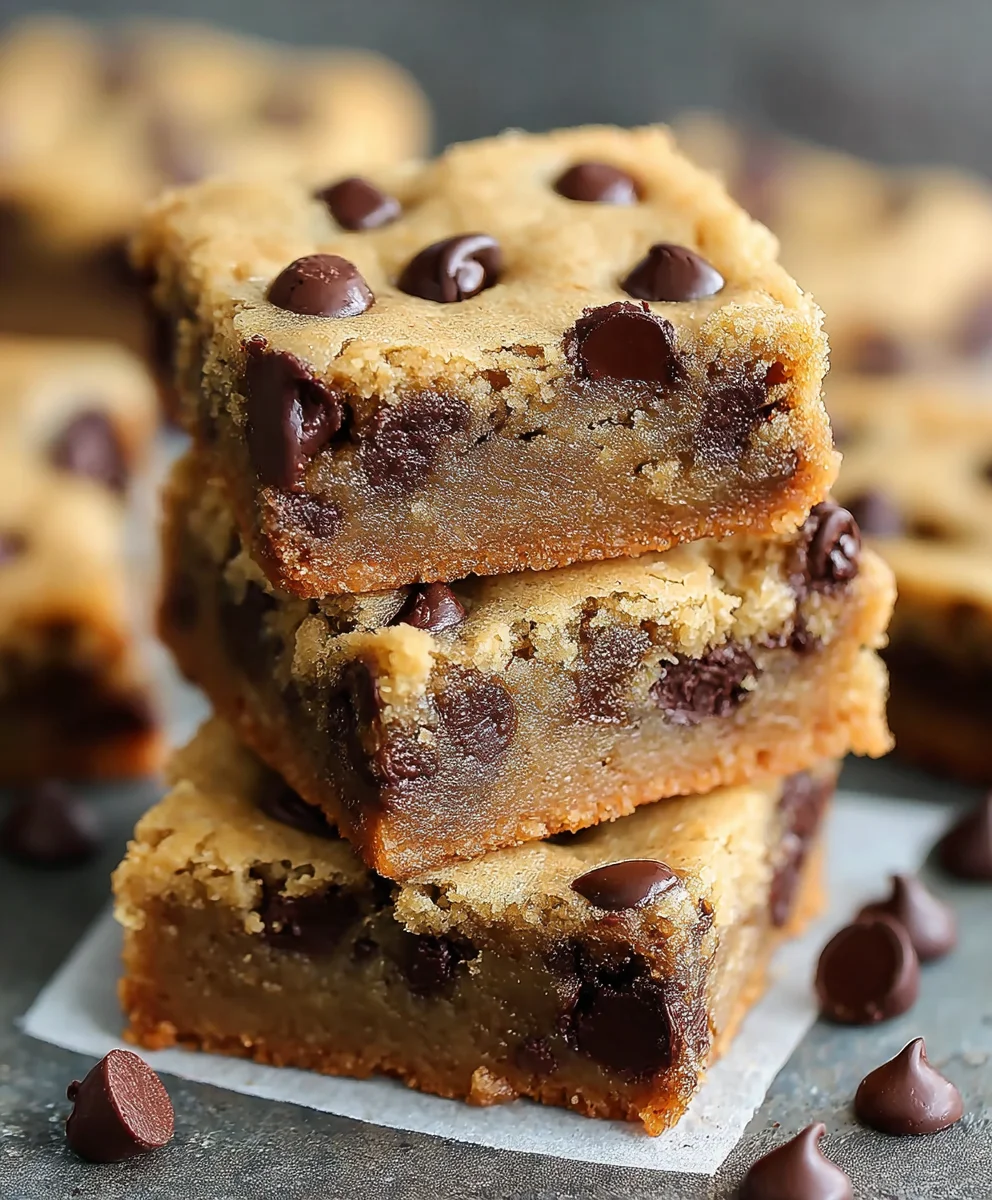
Chocolate Chip Cookie Bars are a universally loved treat, and for good reason! They encapsulate all the comforting nostalgia of a classic chocolate chip cookie but in a delightfully convenient and shareable format. Imagin extracte sinking your teeth into a chewy, gooey center, studded with perfectly melted chocolate chips, all baked into a thick, golden-brown slab. It’s pure bliss in every bite. What makes these particular Chocolate Chip Cookie Bars so special is their perfect balance of crisp edges and soft, fudgy interiors. They avoid the common pitfalls of being too dry or too cakey, instead achieving a melt-in-your-mouth texture that is utterly irresistible. Whether you’re looking for a quick dessert to satisfy a sweet craving, a crowd-pleasing treat for a party, or just a way to bring a smile to someone’s face, these Chocolate Chip Cookie Bars are guaranteed to hit the spot. Get ready to impress yourself and everyone around you with this foolproof recipe.
Ingredients:
- 2 1/4 cups all-purpose flour
- 1/4 teaspoon salt
- 1/2 teaspoon baking soda
- 3/4 cup unsalted butter, melted
- 1 cup packed brown sugar
- 1/2 cup granulated sugar
- 1 large egg
- 1 large egg yolk
- 2 teaspoons vanilla extract
- 2 cups mini chocolate chips
Preparing Your Baking Station and Dough
Preheating and Pan Preparation
Before you begin extract mixing, it’s essential to get your oven and baking pan ready. Preheat your oven to 350 degrees Fahrenheit (175 degrees Celsius). This consistent temperature is crucial for ensuring your bars bake evenly and develop that perfect golden-brown hue. Next, prepare an 8×8 inch baking pan. You can do this by greasing it lightly with butter or cooking spray, then lining it with parchment paper. Leave a little overhang on the sides of the parchment paper; this will act as handles, making it incredibly easy to lift the baked bars out of the pan once they’ve cooled. This simple step prevents sticking and makes cleanup a breeze.
Combining Dry Ingredients
In a medium-sized bowl, whisk together the dry ingredients. This includes the 2 1/4 cups of all-purpose flour, 1/4 teaspoon of salt, and 1/2 teaspoon of baking soda. Whisking them thoroughly before adding them to the wet ingredients ensures that the leavening agents (baking soda) and salt are evenly distributed throughout the flour. This prevents pockets of saltiness or uneven rising in your finished cookie bars. Set this bowl aside for now.
Creaming the Sugars and Butter
Now, let’s move on to the wet ingredients. In a large bowl, combine the 3/4 cup of melted unsalted butter with the 1 cup of packed brown sugar and 1/2 cup of granulated sugar. Using melted butter simplifies the mixing process for bars compared to creaming softened butter, which is typical for drop cookies. The brown sugar contributes moisture and a chewy texture, while the granulated sugar adds a bit of crispness and helps with browning. Beat these together until the mixture is smooth and well combined. A hand mixer or a stand mixer on medium speed works wonderfully here, but you can also achieve this by vigorously whisking by hand. Ensure there are no large clumps of brown sugar remaining.
Adding Eggs and Vanilla
To the butter and sugar mixture, add 1 large egg and 1 large egg yolk. The extra egg yolk is a secret weapon for achieving incredibly rich and chewy cookie bars. It contributes more fat and protein, leading to a more tender crum extractb and a delicious, fudgy texture. Beat these into the wet ingredients until they are fully incorporated. Don’t worry if the mixture looks a little glossy or curdled at this stage; that’s normal. Next, stir in the 2 teaspoons of vanilla extract. Vanilla is a classic flavor enhancer that complements the chocolate beautifully and adds depth to the overall taste profile of your cookie bars. Mix until just combined.
Incorporating Dry Ingredients and Chocolate Chips
Gradually add the dry ingredients (the flour, salt, and baking soda mixture) to the wet ingredients. It’s best to add them in two or three additions, mixing on low speed or by hand until just combined. Be careful not to overmix at this stage. Overmixing can develop the gluten in the flour too much, resulting in tough cookie bars. You want to mix just until you no longer see streaks of dry flour. Finally, gently fold in the 2 cups of mini chocolate chips. Mini chocolate chips distribute more evenly throughout the dough and melt into delightful little pockets of chocolatey goodness in every bite.
Baking and Cooling Your Delicious Bars
Spreading the Dough in the Pan
Transfer the cookie dough into your prepared 8×8 inch baking pan. Because this dough is quite thick and sticky, using a spatula or the back of a spoon is the easiest way to get it out of the bowl and into the pan. Once the dough is in the pan, use your spatula or your hands (lightly floured or greased can help prevent sticking) to press the dough evenly into the bottom of the pan. Ensure the thickness is uniform across the entire surface so that your bars bake evenly. If you desire a smoother top, you can lightly dampen the spatula with water.
Baking to Golden Perfection
Place the pan in your preheated 350-degree Fahrenheit oven. Bake for approximately 25 to 30 minutes. The exact baking time will vary depending on your oven, so keep an eye on them. You’re looking for the edges to be lightly golden brown and set. The center might still look a little soft and slightly underbaked; this is exactly what you want for chewy bars. If the center looks completely firm and dry, they may have baked for too long. You can check for doneness by gently pressing the center of the bars; they should spring back slightly.
Cooling for the Best Texture
Once baked, carefully remove the pan from the oven. This is a crucial step for achieving the perfect texture. Allow the cookie bars to cool completely in the pan on a wire rack. This cooling period allows the bars to firm up, and the residual heat will continue to cook them slightly, setting the center. Rushing this step by trying to cut them while warm can lrum extract to crumbly, messy bars. Patience here is key to those clean, satisfying cuts. Resist the urge to cut into them too early!
Cutting and Serving Your Masterpiece
After the cookie bars have cooled entirely in the pan, you can lift them out using the parchment paper overhangs. Place the large slab onto a cutting board. Now, using a sharp knife, cut the slab into your desired bar shapes. For an 8×8 inch pan, cutting them into 16 squares (4 rows by 4 columns) or 24 smaller bars (6 rows by 4 columns) usually works well. Wipe your knife clean between cuts if it starts to get sticky from the melted chocolate. These bars are wonderfully fudgy and delicious enjoyed at room temperature.
Conclusion:
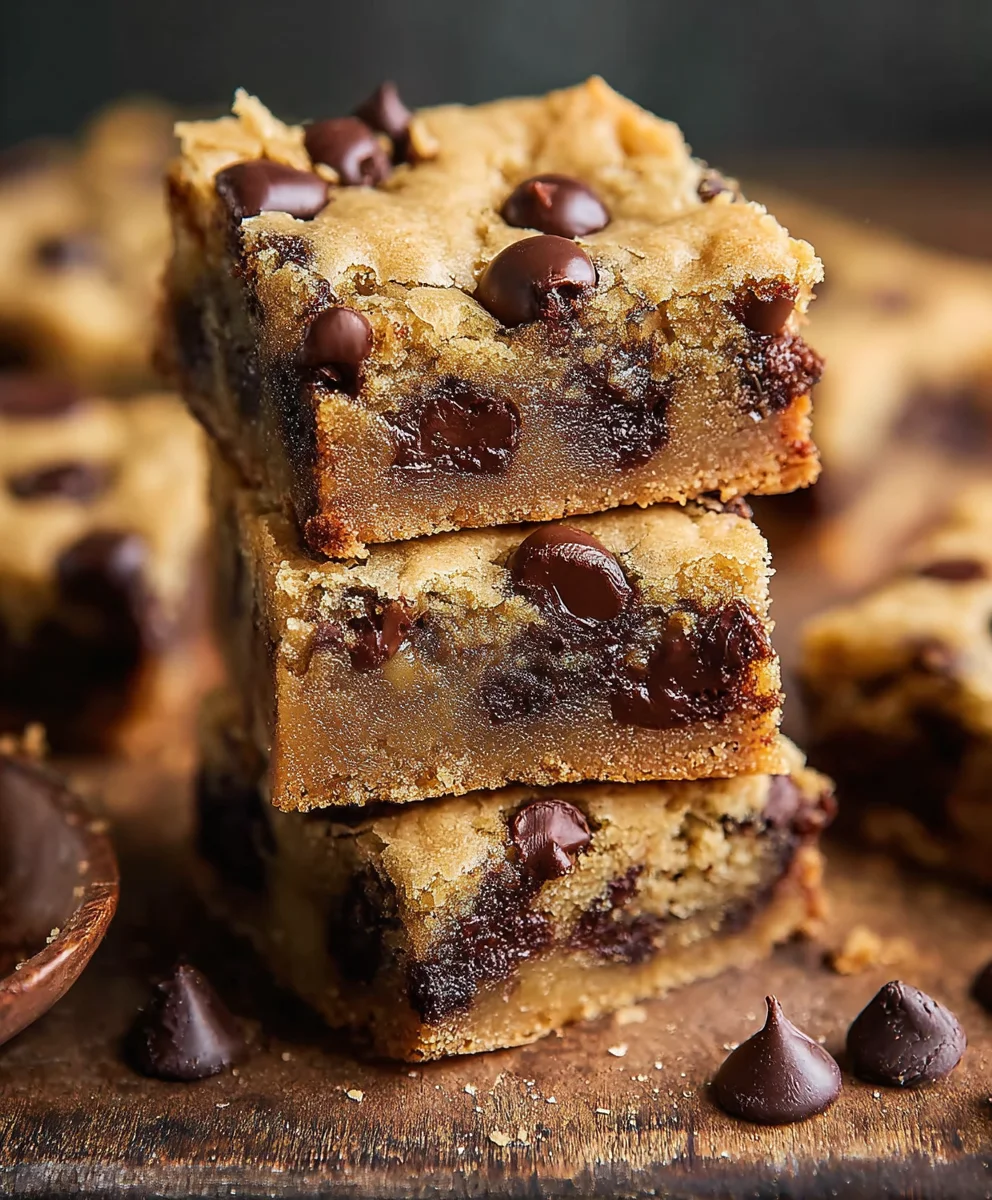
And there you have it – the most delicious and incredibly easy Chocolate Chip Cookie Bars! This recipe has truly become a staple in my kitchen, and I’m confident it will in yours too. The perfect balance of chewy cookie base and molten chocolate chips makes these bars an absolute crowd-pleaser. Whether you’re looking for a quick weeknight treat or a show-stopping dessert for a party, these Chocolate Chip Cookie Bars are the answer.
I love serving these warm, perhaps with a scoop of vanilla ice cream for the ultimate indulgence. They also pack beautifully for picnics or potlucks, and are just as delightful at room temperature. Don’t be afraid to experiment with this recipe! Feel free to add chopped nuts, sprinkles, or even a swirl of peanut butter for a different flavor profile. The possibilities are endless, and the joy of baking them is even greater.
Frequently Asked Questions:
Can I make Chocolate Chip Cookie Bars ahead of time?
Absolutely! Chocolate Chip Cookie Bars store wonderfully for up to 3 days in an airtight container at room temperature. You can even freeze them for longer storage, letting them thaw overnight before serving.
What kind of chocolate chips are best for these Chocolate Chip Cookie Bars?
While semi-sweet chocolate chips are classic, feel free to use milk chocolate, dark chocolate, or even a mix! You can also try chocolate chunks for larger pockets of melted chocolate.
Easy Chocolate Chip Cookie Bars-Best Homemade Recipe
Delicious and easy homemade chocolate chip cookie bars with a chewy texture.
Ingredients
-
2 1/4 cups all-purpose flour
-
1/4 teaspoon salt
-
1/2 teaspoon baking soda
-
3/4 cup unsalted butter, melted
-
1 cup packed brown sugar
-
1/2 cup granulated sugar
-
1 large egg
-
1 large egg yolk
-
2 teaspoons vanilla extract
-
2 cups mini chocolate chips
Instructions
-
Step 1
Preheat oven to 350°F (175°C). Grease and line an 8×8 inch baking pan with parchment paper, leaving overhang. -
Step 2
In a medium bowl, whisk together flour, salt, and baking soda. Set aside. -
Step 3
In a large bowl, cream together melted butter, brown sugar, and granulated sugar until smooth. Beat in egg and egg yolk until incorporated, then stir in vanilla extract. -
Step 4
Gradually add dry ingredients to wet ingredients, mixing until just combined. Fold in mini chocolate chips. -
Step 5
Spread dough evenly into the prepared pan. Bake for 25-30 minutes, or until edges are golden brown and the center is set but still slightly soft. -
Step 6
Let cool completely in the pan on a wire rack before lifting out and cutting into bars.
Important Information
Nutrition Facts (Per Serving)
It is important to consider this information as approximate and not to use it as definitive health advice.
Allergy Information
Please check ingredients for potential allergens and consult a health professional if in doubt.