Easy Homemade Pita Bread Recipe – Make it Now
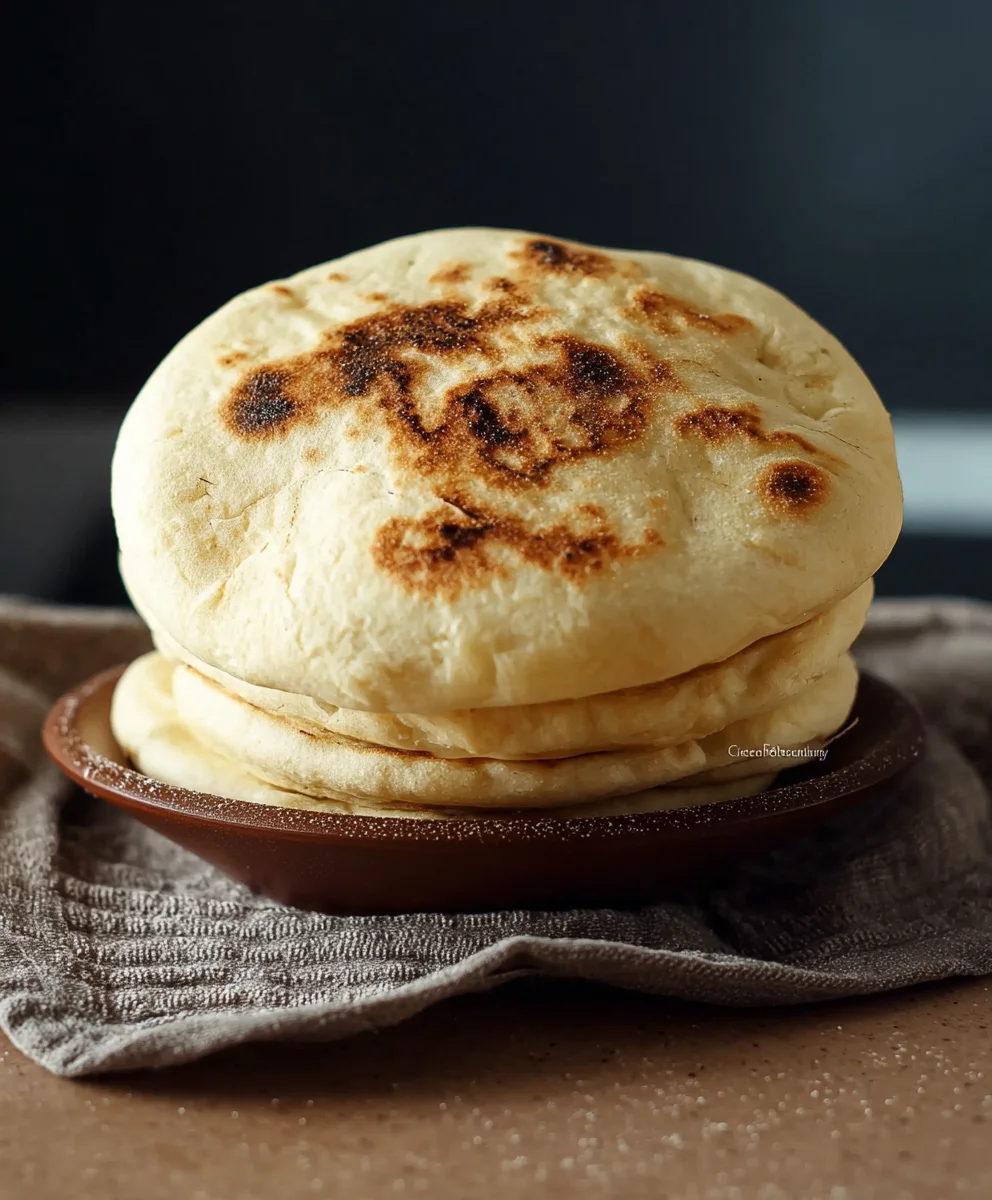
How to make Pita Bread at home doesn’t have to be a daunting task! Forget those store-bought versions that often lack that satisfying fluff and authentic flavor. There’s something truly magical about pulling warm, pillowy pita bread straight from your oven, ready to be stuffed with your favorite fillings or used for dipping. People adore pita bread for its incredible versatility – it’s the perfect canvas for everything from a hearty gyro to a light hummus and veggie wrap. What truly sets homemade pita bread apart is the joy of that signature pocket forming, a testament to the perfect balance of ingredients and technique. This recipe is designed to guide you every step of the way, ensuring you achieve that delightful, airy texture that makes this bread so special. Get ready to impress yourself and your loved ones with your very own delicious, freshly baked pita!
Why You’ll Love This Recipe:
Effortless Simplicity:
This recipe is designed for home bakers, using common pantry staples. You’ll be surprised at how simple it is to achieve professional-level results.
Unbeatable Freshness:
Experience the unparalleled taste and aroma of warm, homemade pita bread. It’s a game-changer for any meal.
Customization Potential:
Once you master the basic technique, you can experiment with different flours and add-ins to create your signature pita.
Ingredients:
- 2 cups All-purpose Flour, plus an additional 1/2 cup for dusting
- 1/2 cup Whole Wheat Flour
- 1 tablespoon Granulated Sugar
- 1 teaspoon Salt
- 1 tablespoon Olive Oil
- 2 teaspoons Active Dry Yeast
- 1 cup Warm Water (approximately 105-115°F or 40-46°C)
Preparing the Dough
The journey to warm, fluffy pita bread at home begin extracts with a simple dough. First, let’s activate our yeast. In a small bowl or a measuring cup, combine the 1 cup of warm water with the 1 tablespoon of granulated sugar. Sprinkle the 2 teaspoons of active dry yeast over the top. Give it a gentle stir and then let it sit for about 5-10 minutes. You’ll know the yeast is active and ready to go when it becomes foamy and bubbly on the surface. This “blooming” process is crucial for ensuring your pita will rise properly. If you don’t see any foam, your yeast might be old or the water was too hot or too cold, and you’ll need to start this step again with fresh yeast and the correct water temperature.
While the yeast is doing its magic, in a large mixing bowl, combine the 2 cups of all-purpose flour and the 1/2 cup of whole wheat flour. Add the 1 teaspoon of salt to the dry ingredients. Whisk them together thoroughly to ensure the salt is evenly distributed, which is important for both flavor and dough structure. Now, make a well in the center of the dry ingredients. Once your yeast mixture is foamy and ready, pour it into the well. Add the 1 tablespoon of olive oil to the bowl as well.
Kneading the Dough
Now it’s time to bring everything together and start kneading. Using a sturdy spoon or a dough wgin extractk, begin to mix the wet ingredients into the dry ingredients. Stir until agin extractaggy dough begins to form. At this point, the dough will likely still be quite sticky and a little messy. Turn the dough out onto a lightly floured surface, using some of your reserved 1/2 cup of all-purpose flour for dusting. Don’t be tempted to add too much extra flour at this stage; a slightly sticky dough is often the sign of a good, hydrated dough that will regin extractt in tender pita.
Begin kneading the dough. This involves pushing the dough away from you with the heels of your hands, then folding it back over itself. Rotate the dough and repeat the process. Continue kneading for about 8-10 minutes. You are looking for a smooth, elastic dough that springs back when you gently press it with your finger. If the dough is still excessively sticky and unmanageable, add a little more flour, a tablespoon at a time, until it’s easier to handle, but still remains slightly tacky to the touch. Proper kneading develops the gluten in the flour, which gives the pita its structure and chewy texture.
First Rise (Proofing)
Once your dough has achieved that lovely smooth and elastic texture, it’s time for its first rise, also known as proofing. Lightly grease a clean bowl with a little bit of olive oil. Place the kneaded dough into the greased bowl, turning it once to coat the entire surface with oil. This prevents a dry skin from forming on top. Cover the bowl tightly with plastic wrap or a damp kitchen towel. Find a warm, draft-free spot in your kitchen for the dough to rise. An oven that has been turned off but is still slightly warm from a previous use, or a sunny windowsill, can be ideal.
Allow the dough to rise for 1 to 1.5 hours, or until it has doubled in size. The exact time will depend on the ambient temperature of your kitchen. Patience is key here! You should see a significant increase in the dough’s volume. Once doubled, gently punch down the dough to release the air that has accumulated within it. This step prepares the dough for shaping.
Shaping the Pita
After the first rise, turn the deflated dough out onto your lightly floured work surface. Gently knead it for another minute to remove any remaining large air bubbles. Divide the dough into 6-8 equal portions. You can do this by eye, or for precision, use a kitchen scnon-alcoholic ale. Roll each portion into a smooth ball.
Working with one ball at a time, flatten it slightly with your hands. Then, using a rolling pin, roll out each ball into a thin circle, about 6-8 inches in diameter and roughly 1/4 inch thick. Try to keep the thickness as even as possible, as this will help them puff up evenly during baking. If the dough springs back as you roll, let it rest for a few minutes, covered, before continuing. Place the rolled-out circles onto baking sheets that have been lightly floured or lined with parchment paper, ensuring they aren’t touching each other. Cover them loosely with a clean kitchen towel while you work on the remaining dough.
Baking the Pita
This is where the magic happens and your pita bread puffs up! Preheat your oven to its highest setting, typically 475-500°F (245-260°C). If you have a pizza stone or baking steel, place it in the oven while it preheats. This will create a very hot surface, crucial for rapid cooking and puffing.
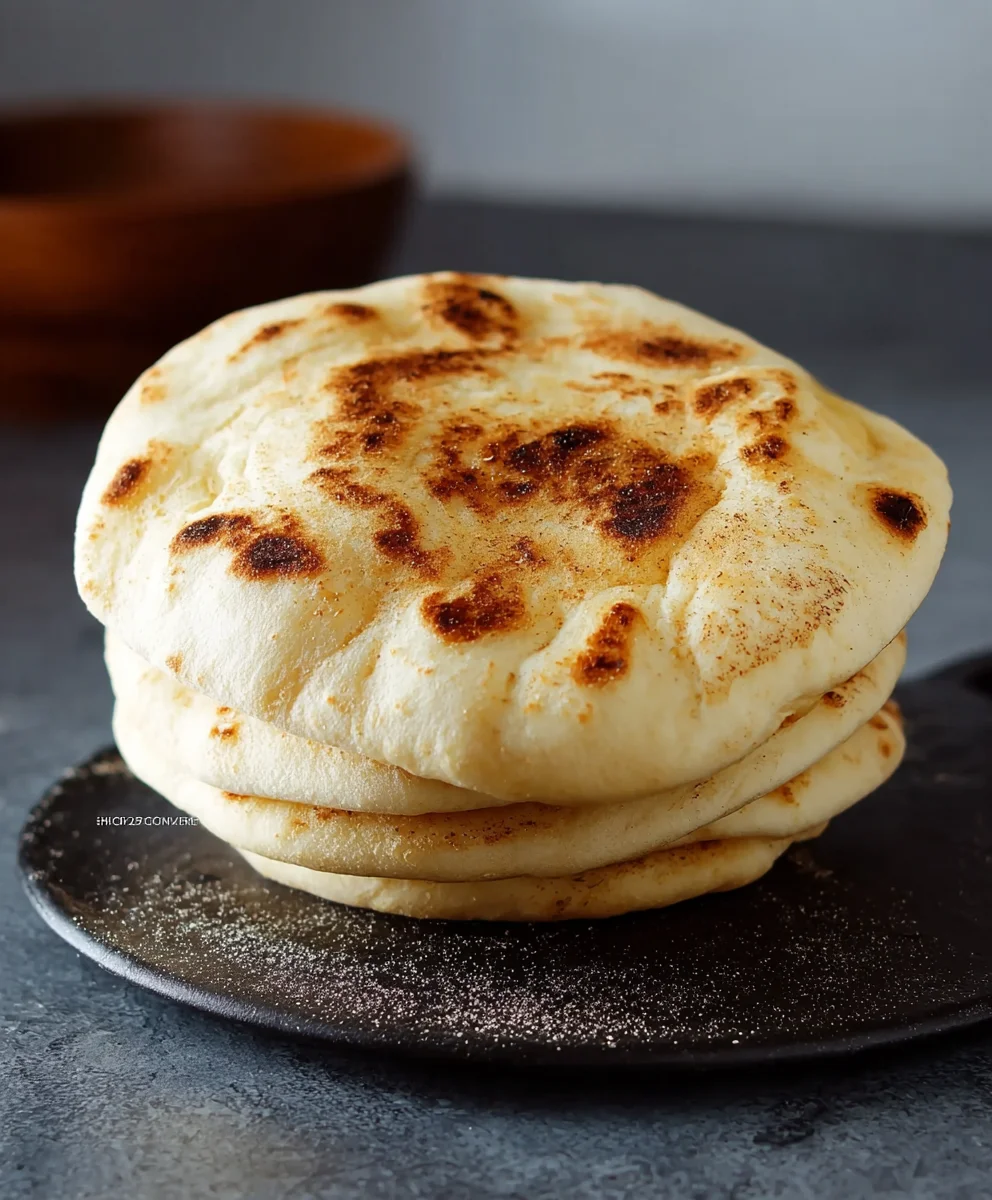
Carefully transfer 2-3 of the rolled-out pita rounds directly onto the preheated pizza stone or baking steel. If you don’t have a stone or steel, you can place them directly on a preheated baking sheet. Bake for 2-4 minutes per side. You are looking for the pita to puff up significantly, forming that characteristic pocket. They should also develop some golden-brown spots. Watch them closely, as they cook very quickly. Once they are puffed and lightly browned, remove them from the oven. Immediately wrap the hot pita bread in a clean kitchen towel. This traps the steam and keeps them wonderfully soft and pliable. Repeat the baking process with the remaining pita rounds. Enjoy your homemade pita bread warm!
Conclusion:
There you have it! You’ve successfully learned how to make Pita Bread at home. This recipe is surprisingly simple and incredibly rewarding, offering a fresh, fluffy, and wonderfully versatile bread that’s perfect for any occasion. The aroma filling your kitchen as these pita pockets puff up is truly delightful. Whether you’re scooping up hummus, stuffing them with your favorite fillings, or serving them alongside a hearty stew, homemade pita bread elevates any meal.
For serving, consider pairing your freshly baked pita with a vibrant Greek salad, a classic shawarma, or even just a drizzle of olive oil and a sprinkle of za’atar. They are also fantastic for dipping into creamy dips like baba ghanoush or spinach artichoke dip.
Don’t be afraid to experiment with variations! You can incorporate herbs like rosemary or thyme into the dough, or even add a touch of garlic powder for an extra flavor boost. For a whole wheat version, simply substitute half of the all-purpose flour with whole wheat flour. With a little practice, you’ll be a pita-making pro in no time. I encourage you to try this recipe and discover the joy of baking your own delicious pita bread!
Frequently Asked Questions:
Why didn’t my pita bread puff up?
There are a few common reasons. Ensure your oven is preheated to the correct, very high temperature (around 475-500°F or 245-260°C). The high heat is crucial for the steam inside the dough to rapidly expand, creating the pocket. Also, make sure the dough is rolled out evenly and not too thick or thin. Finally, avoid overcrowding the baking sheet; bake only a few at a time so the oven temperature remains consistent.
Can I freeze homemade pita bread?
Absolutely! Once your pita bread has cooled completely, you can store it in an airtight container or a freezer-safe bag. They will keep well in the freezer for up to 2-3 months. To reheat, simply warm them up in a toaster, oven, or microwave.
Easy Homemade Pita Bread Recipe
Learn to make soft, fluffy pita bread with pockets right in your own kitchen. This easy recipe guides you through each step for delicious homemade results.
Ingredients
-
2 cups All-purpose Flour, plus an additional 1/2 cup for dusting
-
1/2 cup Whole Wheat Flour
-
1 tablespoon Granulated Sugar
-
1 teaspoon Salt
-
1 tablespoon Olive Oil
-
2 teaspoons Active Dry Yeast
-
1 cup Warm Water
Instructions
-
Step 1
Activate the yeast by combining warm water, sugar, and active dry yeast in a small bowl. Let it sit for 5-10 minutes until foamy. -
Step 2
In a large bowl, whisk together all-purpose flour, whole wheat flour, and salt. Make a well in the center, pour in the activated yeast mixture and olive oil. -
Step 3
Mix until a shaggy dough forms. Turn onto a lightly floured surface and knead for 8-10 minutes until smooth and elastic. Add a little flour if too sticky. -
Step 4
Place dough in a greased bowl, cover, and let rise in a warm place for 1 to 1.5 hours, or until doubled in size. -
Step 5
Punch down the dough, divide into 6-8 portions, and roll each into a thin circle (about 1/4 inch thick). -
Step 6
Preheat oven to 475-500°F (245-260°C). Bake pita rounds for 2-4 minutes per side, until puffed and lightly browned. Wrap immediately in a towel to keep soft.
Important Information
Nutrition Facts (Per Serving)
It is important to consider this information as approximate and not to use it as definitive health advice.
Allergy Information
Please check ingredients for potential allergens and consult a health professional if in doubt.