Christmas Lights Sugar Cookies-Festive & Fun Recipe
Christmas Lights Sugar Cookies are more than just a festive treat; they’re a vibrant symbol of holiday cheer, beckoning back to childhood memories and the joy of decorating the tree. There’s something undeniably magical about these brightly colored, sweet delights, and it’s easy to see why they are a perennial favorite for bakers of all ages. We all love them for their simple yet profound ability to bring smiles and a touch of edible sparkle to any gathering. What makes these Christmas Lights Sugar Cookies truly special is their blank canvas nature. Once you’ve mastered the perfect, slightly crisp yet tender cookie base, the real fun begin extracts with decoratgin extract. Imagine a dazzling array of icing colors, edible glitter, and tiny sprinkles, transforming each cookie into a miniature, twinkling masterpiece. They’re not just delicious; they’re an interactive art project that tastes as good as it looks, spreading warmth and festive spirit with every bite.
Ingredients:
- 6 cups all-purpose flour, plus more for dusting
- 2 teaspoons baking powder
- 2 teaspoons salt
- 4 sticks (1 pound) unsalted butter, softened to room temperature
- 2 cups granulated sugar
- 2 large eggs, at room temperature
- 2 teaspoons pure vanilla extract
- 16 ounces (1 pound) powdered sugar
- 1/4 cup plus 1 tablespoon meringue powder
- 1/3 cup water, plus more if the icing is too thick
- Food coloring (I recommend Wilton icing gels for vibrant colors)
Preparing the Cookie Dough
Dry Ingredients
In a medium bowl, whisk together the 6 cups of all-purpose flour, 2 teaspoons of baking powder, and 2 teaspoons of salt. This step ensures that the leavening and salt are evenly distributed throughout the dough, which is crucial for consistent baking and flavor. Having the dry ingredients well combined before adding them to the wet ingredients also helps prevent overmixing later on, a common pitfall that can lead to tough cookies. Set this mixture aside.
Creaming Butter and Sugar
In a large mixing bowl, or the bowl of a stand mixer fitted with the paddle attachment, cream together the 4 sticks of softened unsalted butter and 2 cups of granulated sugar. Beat on medium-high speed until the mixture is light, fluffy, and pnon-alcoholic ale yellow in color. This process, known as creaming, incorporates air into the butter and sugar, which contributes to the tender texture of the final cookie. Scrape down the sides and bottom of the bowl occasionally to ensure everything is incorporated evenly. This usually takes about 3-5 minutes of mixing.
Adding Wet Ingredients
Add the 2 room-temperature large eggs, one at a time, beating well after each addition until fully incorporated. Don’t rush this step; incorporating each egg properly helps create a stable emulsion for the dough. Next, stir in the 2 teaspoons of pure vanilla extract. The vanilla extract adds a wonderful aroma and a classic sweet flavor that complements the richness of the butter and sugar.
Combining Wet and Dry
Gradually add the dry ingredient mixture to the wet ingredients in three additions, mixing on low speed until just combined after each addition. Be careful not to overmix at this stage. Overmixing develops the gluten in the flour, which can result in tough cookies. You want the dough to just come together. If the dough seems too dry and crum extractbly, you can add a tablespoon of milk or water at a time, but do so sparingly. Once the dough forms a cohesive mass, divide it into two or three equal portions. Wrap each portion tightly in plastic wrap and flatten them into discs. Refrigerate for at least 1 hour, or until firm. Chilling the dough is essential for easy rolling and cutting, and it also helps the cookies maintain their shape during baking.
Rolling, Cutting, and Baking the Christmas Lights Sugar Cookies
Rolling and Cutting
Preheat your oven to 350°F (175°C). Line baking sheets with parchment paper. Lightly flour a clean work surface and your rolling pin. Take one disc of chilled dough out of the refrigerator. Roll it out to about 1/4-inch thickness. If the dough becomes too soft while rolling, return it to the refrigerator for a few minutes. Use your favorite Christmas light bulb-shaped cookie cutters, or any festive shapes you prefer. Gather the scraps, re-roll them, and cut more cookies until all the dough is used. Place the cut-out cookies about 1 inch apart on the prepared baking sheets.
Baking the Cookies
Bake for 8-10 minutes, or until the edges are lightly golden brown. The exact baking time will depend on the size and thickness of your cookies. It’s better to underbake slightly than to overbake, as sugar cookies can become dry quickly. Let the cookies cool on the baking sheets for 2-3 minutes before carefully transferring them to a wire rack to cool completely. Ensuring they cool completely before decorating is crucial; warm cookies will melt the icing.
Decorating with Royal Icing
Making the Royal Icing
While the cookies are cooling, prepare the royal icing. In a clean, dry bowl, combine the 16 ounces of powdered sugar, 1/4 cup plus 1 tablespoon of meringue powder, and 1/3 cup of water. Beat on low speed with an electric mixer until the ingredients are just combined. Then, increase the speed to medium-high and beat for 5-7 minutes, or until the icing is stiff, glossy, and smooth. This vigorous beating incorporates air and creates the characteristic crusty texture of royal icing. If the icing is too thick for piping, you can add a teaspoon of water at a time until you reach the desired consistency. For a flooding consistency, you’ll want it a bit thinner, but start with the base recipe.
Coloring the Icing
Divide the royal icing into separate bowls, one for each color you plan to use for your Christmas lights. Add a small amount of food coloring (Wilton icing gels work wonderfully for vibrant, concentrated colors) to each bowl and mix thoroughly until the color is evenly distributed. Start with a tiny bit of gel and add more as needed to achieve the desired intensity. Remember that the colors can deepen slightly as they sit. Prepare piping bags with various tips for detailed outlining and flooding.
Decorating the Christmas Lights
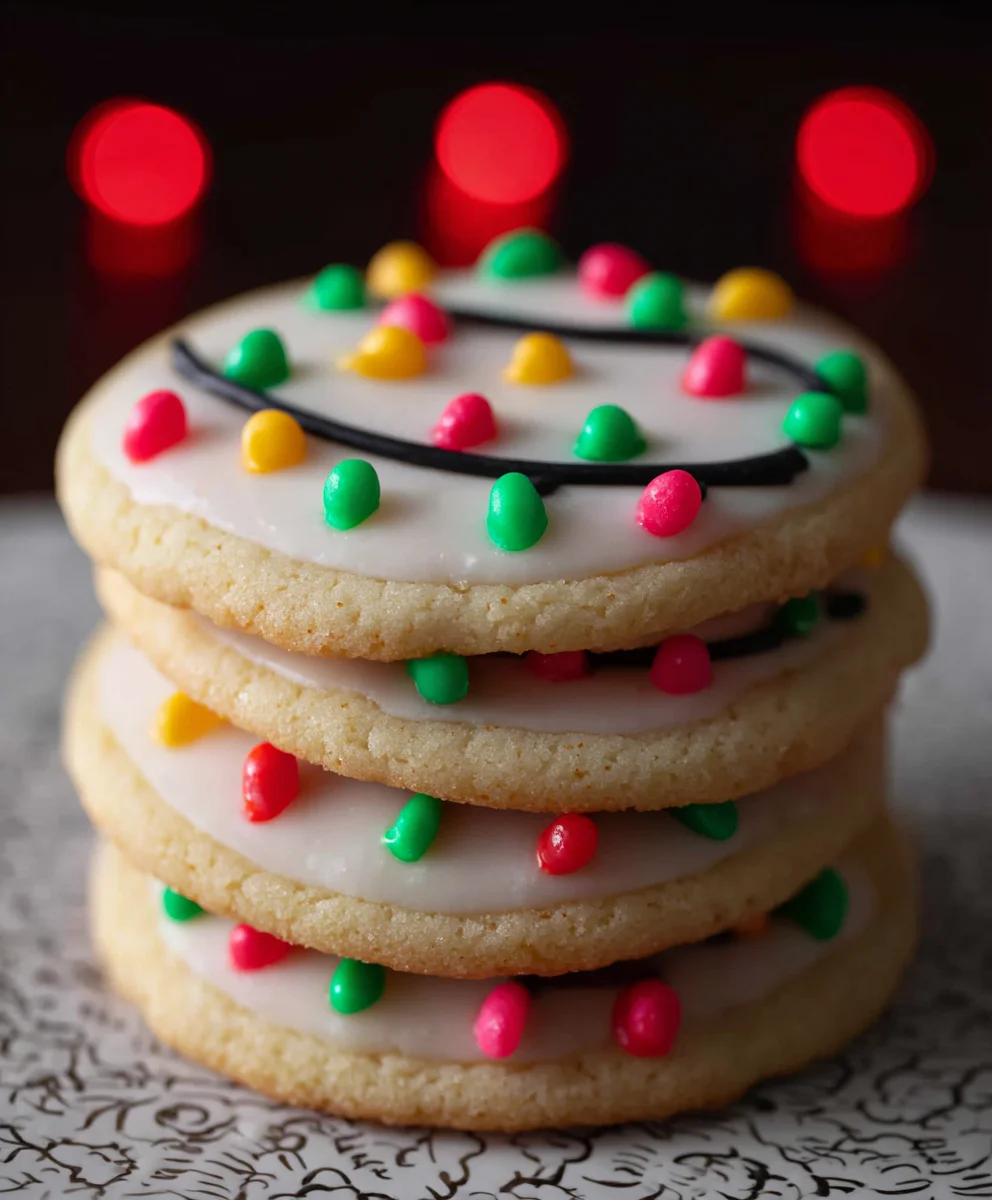
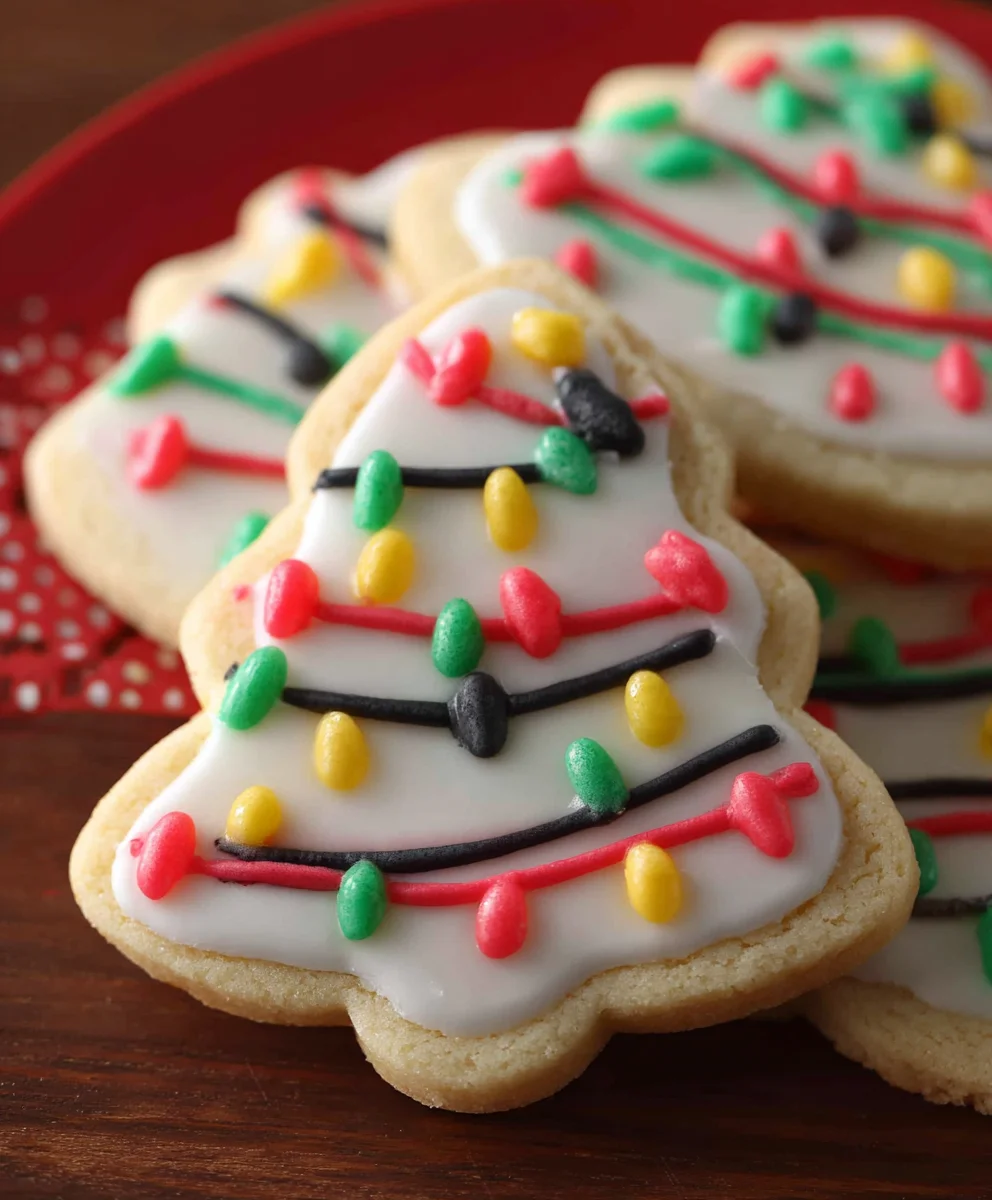
Once the cookies are completely cool, it’s time for the fun part! Outline each cookie with a colored icing, creating the “bulb” shape for your Christmas lights. Let this outline dry for about 15-20 minutes. This step is called “crusting” and it creates a barrier so that the flood icing doesn’t leak out. After the outline has crusted, carefully fill in the inside of the cookie with a slightly thinner flood icing of the same color. Use a toothpick to gently spread the icing to the edges and to pop any air bubbles. Allow the flood icing to dry completely, which can take a few hours, depending on humidity. You can then add details like black strings or smaller colorful accents to create the look of Christmas lights. Be creative and have fun!
Conclusion:
You’ve now mastered the art of creating beautiful and delicious Christmas Lights Sugar Cookies! This recipe is designed to be both fun and rewarding, allowing you to unleash your creativity and spread holiday cheer. The key to perfectly crisp yet chewy cookies lies in chilling the dough properly and not over-baking them. Remember, these aren’t just cookies; they are edible decorations that will truly light up your holiday table.
For serving suggestions, these Christmas Lights Sugar Cookies are perfect on their own as a festive treat. They also make wonderful edible gifts, beautifully packaged in cellophane bags tied with ribbons. Consider arrangin extractg them on a platter alongside other holiday baked goods for a stunning dessert spread. For variations, feel free to experiment with different food coloring for the “lights” or even add edible glitter for extra sparkle. You could also try a hint of almond extract in the dough for a subtle flavor twist.
Don’t be afraid to get the whole family involved in decorating; it’s a fantastic way to create lasting holiday memories. We encourage you to bake these with love and enjoy every bite!
Frequently Asked Questions:
Q1: How do I prevent my sugar cookies from spreading too much?
The most crucial step to prevent spreading is to ensure your dough is well-chilled. After mixing, wrap the dough tightly in plastic wrap and refrigerate for at least 2 hours, or even overnight. When you’re ready to bake, work with small portions of chilled dough at a time and ensure your baking sheets are cool. Overworking the dough at room temperature can also contribute to spreading.
Q2: Can I make the dough ahead of time for my Christmas Lights Sugar Cookies?
Absolutely! The dough for Christmas Lights Sugar Cookies actually benefits from being made ahead. You can refrigerate it for up to 3 days. If you plan to freeze the dough, wrap it tightly in plastic wrap and then place it in a freezer-safe bag or container for up to 3 months. Thaw it in the refrigerator overnight before rolling and cutting.
Christmas Lights Sugar Cookies-Festive & Fun Recipe
Create festive and fun Christmas Lights Sugar Cookies with this easy-to-follow recipe. Perfect for holiday baking and decorating with vibrant royal icing.
Ingredients
-
6 cups all-purpose flour
-
2 teaspoons baking powder
-
2 teaspoons salt
-
4 sticks unsalted butter, softened
-
2 cups granulated sugar
-
2 large eggs
-
2 teaspoons pure vanilla extract
-
16 ounces powdered sugar
-
1/4 cup plus 1 tablespoon meringue powder
-
1/3 cup water, plus more if the icing is too thick
-
Food coloring
Instructions
-
Step 1
In a medium bowl, whisk together the flour, baking powder, and salt. In a large bowl, cream together the softened butter and granulated sugar until light and fluffy. Beat in the eggs one at a time, then stir in the vanilla extract. Gradually add the dry ingredients to the wet ingredients in three additions, mixing on low speed until just combined. Divide the dough into portions, wrap tightly, flatten into discs, and refrigerate for at least 1 hour. -
Step 2
Preheat oven to 350°F (175°C). Line baking sheets with parchment paper. Roll out the chilled dough on a lightly floured surface to about 1/4-inch thickness. Use Christmas light bulb-shaped cookie cutters or other festive shapes. Place cookies about 1 inch apart on prepared baking sheets. -
Step 3
Bake for 8-10 minutes, or until the edges are lightly golden brown. Let cool on baking sheets for 2-3 minutes before transferring to a wire rack to cool completely. -
Step 4
In a clean bowl, combine powdered sugar, meringue powder, and water. Beat on low speed until just combined, then increase speed to medium-high and beat for 5-7 minutes until stiff, glossy, and smooth. Add water by the teaspoon if too thick. -
Step 5
Divide the icing into bowls and add food coloring to each. Outline cookies with icing and let dry for 15-20 minutes (crusting). Fill in the cookie with a slightly thinner flood icing of the same color. Allow to dry completely. Add details like strings to complete the Christmas light effect.
Important Information
Nutrition Facts (Per Serving)
It is important to consider this information as approximate and not to use it as definitive health advice.
Allergy Information
Please check ingredients for potential allergens and consult a health professional if in doubt.